
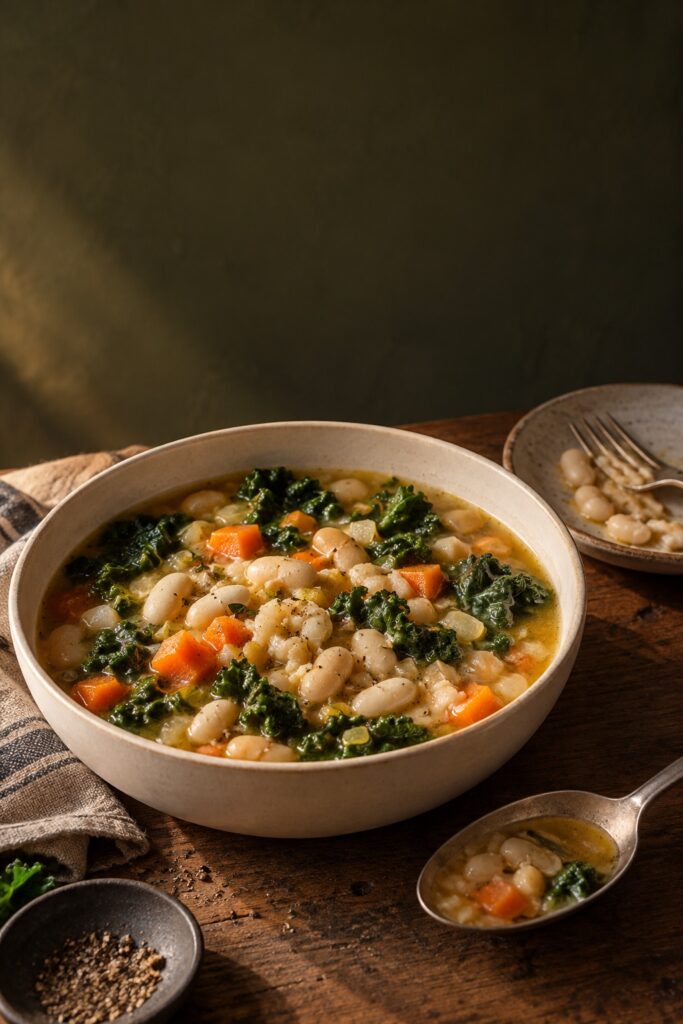
Before we talk ingredients, I want to know what kind of soup you have in mind. Clear broth with distinct pieces, a thick bean soup and a smooth vegetable soup need different decisions, even if they begin with the same onion and carrot.
Let me show you how to build the texture in order, rather than adding every available ingredient and hoping the pot sorts itself out. The combinations here are illustrative, not kitchen-tested recipes.
Give the liquid a job
For a brothy soup, leave enough space between the ingredients for the broth to be part of each spoonful. For a thick soup, beans, lentils or a recipe-directed thickening method can give the liquid body. For a smooth vegetable soup, control the liquid so you can thin after blending rather than struggle to thicken afterward.
Water can work when the ingredients provide enough flavor. Broth contributes its own seasoning. Dilute concentrated products as directed, and remember that reduction concentrates salt. Leave room in the pot for stirring and for ingredients that expand.
Utah State University Extension’s soup guide offers a helpful component-based starting point. Use a complete suitable recipe when you need precise quantities and timing.
Add ingredients according to the cooking they still need
Raw carrot, canned white beans and tender spinach do not need the same time. Cook a dense vegetable early enough to become tender; add a cooked ingredient later when it needs warming and flavor integration; give delicate leaves the shorter stage specified by the recipe.
Here is an example to make the sequence clear. For an onion, carrot, white-bean and leafy-green soup, prepare the onion and carrot by the chosen method, then add suitable liquid and cook until the vegetables are tender. Introduce the already cooked beans, then the greens at their appropriate stage. This describes an order, not a tested formula.
If you want more body, crush some of the fully cooked beans into the broth. If you want distinct pieces, leave them whole. A hard bean center needs proper cooking; thickening the surrounding liquid will not solve it.
Use canned or fully cooked beans for flexible assembly. Raw dried kidney beans need their own authoritative preparation method, not a guess inside an acidic soup or a slow cooker. See cooking with beans and lentils.
Decide whether noodles should join the whole pot
Dry noodles and grains absorb liquid. That can suit a thick soup, but it can turn tomorrow’s intended broth into a dense mixture.
For a soup you want to keep brothy, cook the noodles separately and add them to the portion being served. Follow the exact product directions. Thin rice noodles and thick dried wheat noodles do not finish on the same schedule.
When loosening a soup after storage, add suitable liquid gradually. Water may be more appropriate than an already salty broth. Reassess the fully reheated portion before seasoning again.
Blend only with equipment designed for the job
Cook the vegetables until suitably tender and remove inedible stems, leaves or bones. Follow the blender’s hot-liquid instructions and fill limits. Some sealed personal blenders must not hold hot soup: steam can build pressure.
With an immersion blender, position the head as the manual directs and switch it off before lifting it out. Thick, hot soup can splash. Add liquid after blending in small steps to reach the texture you want.
Milk, yogurt, cheese and plant-based alternatives behave differently in heat and acid. Follow a method suited to the product rather than treating every creamy-looking ingredient as interchangeable. A cold topping can be served separately when that fits the dish.
Make the final adjustment in a spoonful
Check cooking and consistency first. Then test seasoning, acidity or a fresh herb in a small sample. If the soup is already salty, reduction will intensify it. Adding a potato does not selectively remove the salt; extra unsalted ingredients dilute the mixture by increasing its quantity.
A scorched base may carry burned flavor throughout the broth. Do not scrape the blackened bottom into the rest. Sometimes the useful lesson is a gentler heat or more frequent stirring, not another seasoning.
Plan the containers before the large batch
Divide extra soup into shallow containers and refrigerate promptly, rather than cooling a deep pot on the counter. USDA’s household guidance allows three to four refrigerated days for leftovers, with suitable portions frozen promptly for later use. Keep the refrigerator at 40°F/4°C or below; refrigerate within two hours, or one hour above 90°F/32°C.
Reheat leftovers to 165°F/74°C and bring soup to a rolling boil, stirring to distribute heat. Retain the original dates of older components. Freeze in suitable meal-sized containers with the manufacturer’s recommended expansion space; label anything to add later, such as separately cooked noodles. A frozen base is much more useful when it tells you how to become lunch.
Food-safety temperatures and storage limits here follow US household guidance; follow applicable local guidance and product instructions.
MarGo! editorial feature · AI-assisted, in the MarGo! first-person voice. Not a personal experience or product test unless stated.